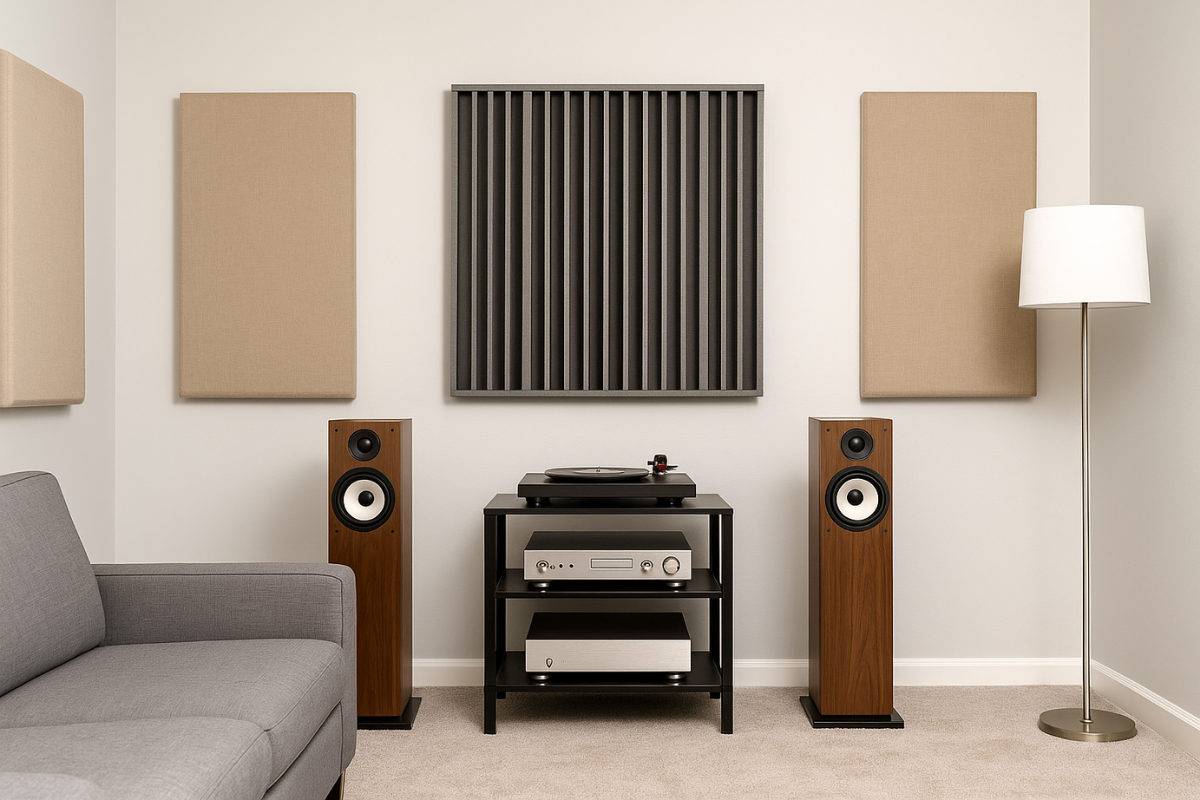
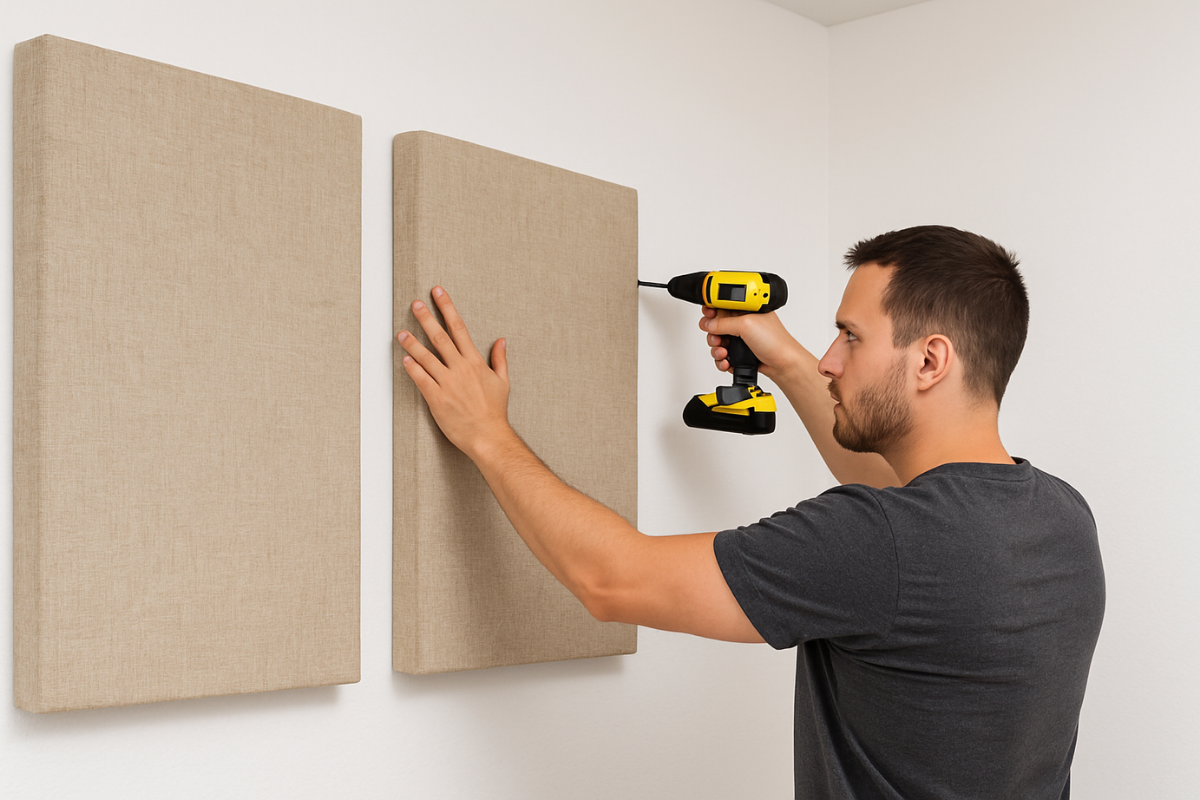
How to Install Acoustic Panels: Step-by-Step Instructions
Step 1: Measure and Mark Your Installation Area


Before attaching anything to the wall, take the time to plan your panel layout. Accurate measurements and markings will ensure a clean, symmetrical result.
What You’ll Need:
- Measuring tape
- Level
- Pencil or painter’s tape
- Optional: a second set of hands for larger panels
Instructions:
- Measure your wall space to determine ideal panel placement.
- Use a level to ensure your markings are perfectly straight.
- Mark the top corners of each panel using a pencil or painter’s tape.
- For multiple panels, space them evenly for a consistent look.
- Double-check your layout before moving on to hardware installation.
Step 2: Install the Wall-Mounted Z-Bar
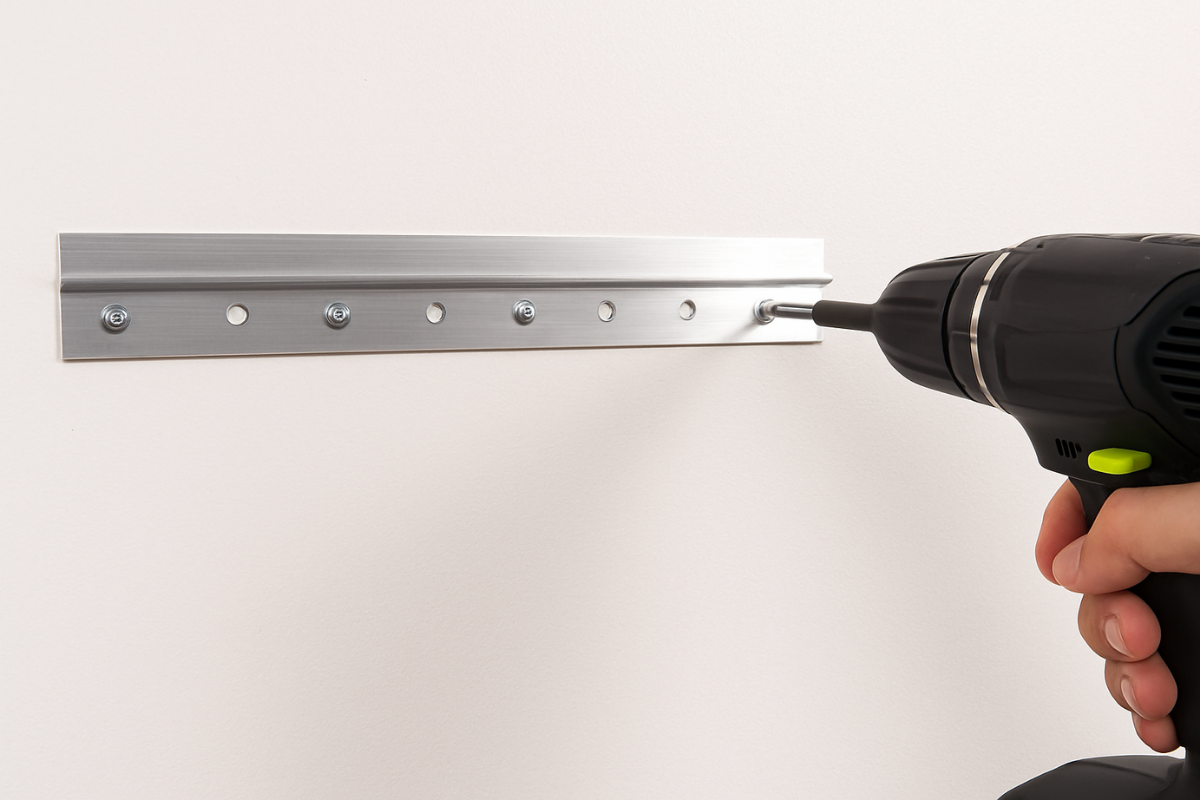

- Align the longer Z-bar horizontally on your wall using your top edge marks.
- Ensure the bar is perfectly level using a bubble or laser level.
- Drill pilot holes, then secure the Z-bar using screws and drywall anchors (or directly into studs if available).
- Use two or more screws across the bar for even support.
Step 3: Attach Z-Clips to the Back of the Panel
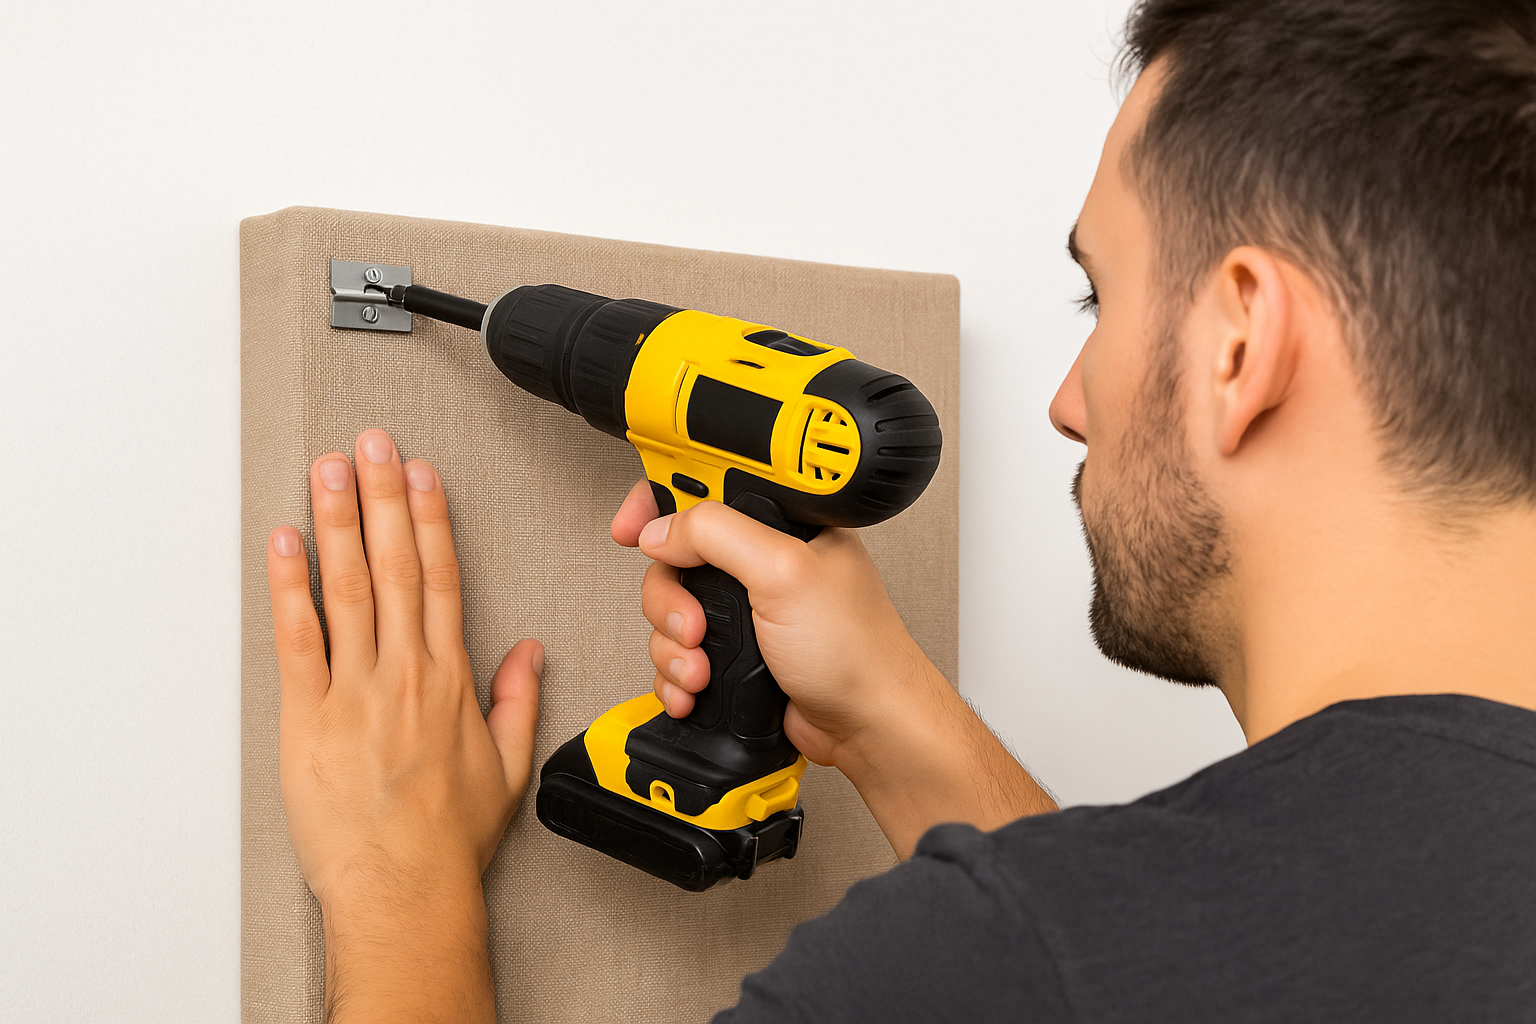

- Lay the panel face down on a clean, padded surface.
- Position the Z-clips near the top edge of the panel back, aligned horizontally.
- Use a measuring tape to center the clips and a level for straightness.
- Drill pilot holes if needed, and secure each clip with two screws.
- Be sure the clips face down and interlock directionally with the wall Z-bar.
Step 4: Mount the Panel onto the Wall
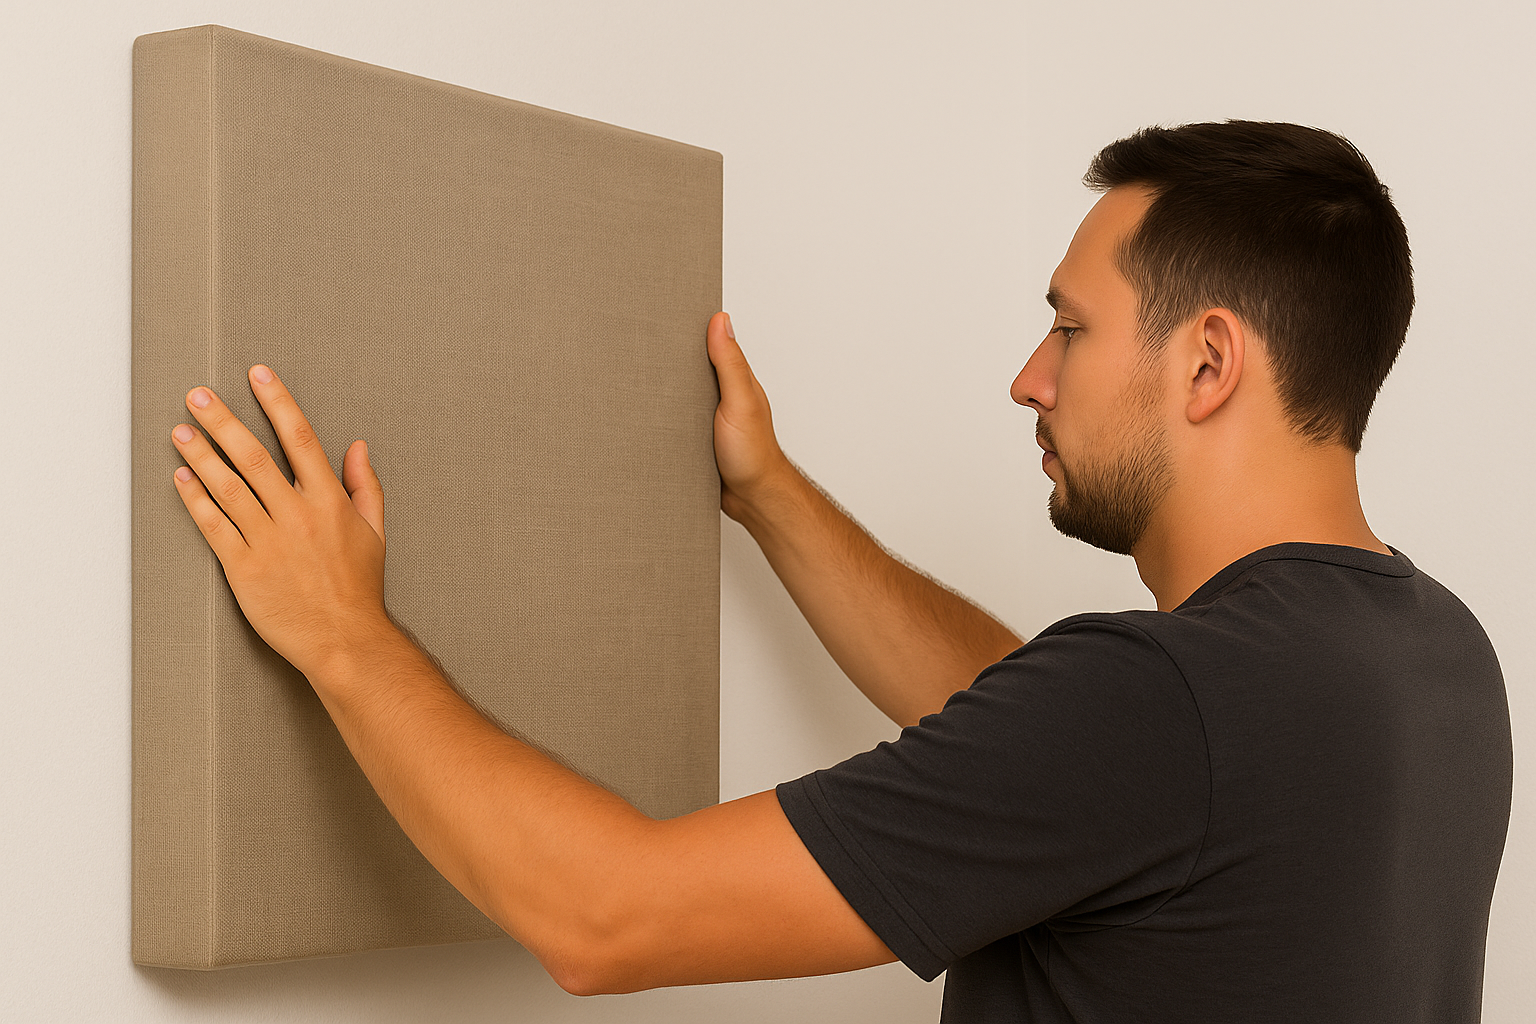

- Carefully lift the panel and align the clips with the mounted Z-bar.
- Slide the panel downward until the clips fully lock onto the bar.
- Check that the panel sits flush and is level.
- Make small adjustments as needed for alignment and spacing.
Final Tips and Maintenance for your Acoustic Panels
Once installed, gently press each panel to confirm a secure fit. If you’re installing multiple panels, use consistent spacing for visual balance. Avoid using harsh cleaners—vacuum or lightly brush the fabric surface to maintain cleanliness and performance over time.
Get Everything You Need to Install Your Panels Like a Pro
Ready to start your acoustic upgrade? Shop the exact products featured in this guide—from Z-Bars and Z-Clips to professional-grade acoustic panels—all in one place.
Click below to order your installation essentials and start transforming your space today.


